Hamilton winters are hard on homes. From November through March, your home's exterior faces freeze-thaw cycles, ice buildup, wind-driven snow, and weeks of below-zero temperatures. By the time the snow melts and spring arrives, the damage accumulated over those months doesn't always announce itself loudly. Sometimes it shows up as a slight gap in your siding. A small section of fascia that looks a little off. An eavestrough that seems to sit just a few degrees lower than it used to.
These small signs matter. Caught early in spring, most exterior issues are inexpensive to fix. Left until fall — or another winter — they tend to become significantly more costly.
This checklist walks you through the key areas of your home's exterior to inspect each spring. You don't need to be a contractor to do it. A pair of binoculars, a ladder used safely, and a clear afternoon are all it takes to get an honest picture of where things stand.
Pro tip: Walk your property after the first week of consistently above-zero temperatures, when ice has cleared and damage is fully visible. Bring a notepad or use your phone to photograph anything that looks off.
1. Inspect Your Siding
Your siding is your home's primary defence against moisture, wind, and temperature. A single compromised panel creates an entry point for water that can reach your wall insulation, framing, and interior drywall before you ever notice a problem inside.
Walk the full perimeter of your home and look for:
- Cracks, splits, or holes in individual panels
- Panels that are bowing, buckling, or pulling away from the wall
- Warping or cupping along the edges of vinyl siding
- Fading or discoloration that may indicate moisture behind the panel
- Gaps at corners, around windows, or where siding meets trim
- Soft spots when you press gently on a panel — a sign of moisture damage underneath
What to do: Minor cracks and single panel damage are often repairable without a full replacement. Wider gaps at seams, buckling across multiple panels, or soft spots indicating water infiltration typically point to a larger issue that warrants professional assessment.
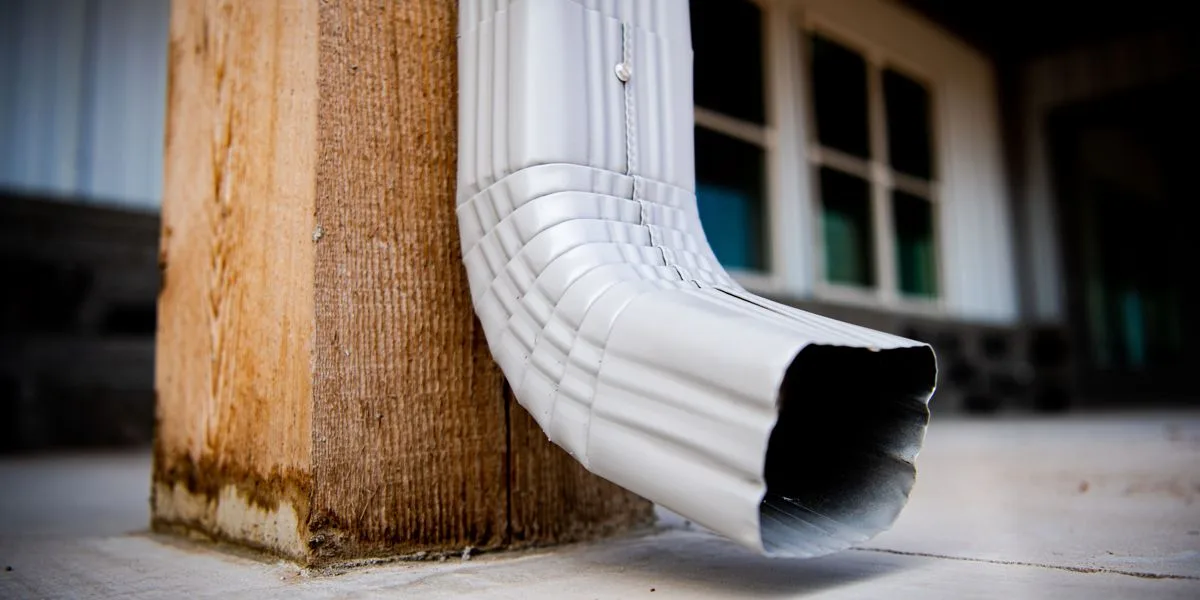
2. Check Your Eavestroughs and Downspouts
Eavestroughs take a beating over winter. The weight of ice and snow stresses fastening systems, joints pull apart as material contracts in the cold, and debris from the previous fall can leave gutters clogged heading into the spring rain season. A malfunctioning eavestrough system during a heavy April or May downpour can send large volumes of water directly against your foundation, siding, and landscaping.
Inspect your eavestroughs from the ground with binoculars and, where safe, from a ladder:
- Sections that are visibly sagging or pulling away from the fascia board
- Separated joints where two sections have come apart
- Visible rust staining or water marks on the exterior of the gutter
- Debris (Leaves, seed pods, shingle granules) that survived winter inside the trough
- Downspouts that are disconnected, crushed, or no longer directing water away from the foundation
- Water staining on the siding or foundation directly below the eavestrough line
Run a garden hose into your eavestroughs on a dry day and watch how water flows. It should move steadily toward the downspout and exit cleanly at the bottom. Pooling, backflow, or leaking at joints all indicate problems that need attention before the wet season is fully underway.
What to do: Clear debris from gutters before running any water tests. Sagging sections, separated joints, and leaking seams are all repairable in many cases. Persistent sagging or widespread joint failure in older sectional gutters often makes a full seamless aluminum replacement the more cost-effective long-term solution.
3. Examine Your Soffit and Fascia
Soffit and fascia sit at the roofline where your roof meets the exterior walls — an area that takes direct exposure to weather but is easy to overlook during a casual walk around the yard. Winter moisture, ice buildup along the eaves, and freeze-thaw stress all contribute to deterioration that becomes apparent once spring arrives.
Fascia
Fascia is the horizontal board that runs along the lower edge of your roofline and provides the mounting surface for your eavestroughs. Inspect for:
- Peeling or bubbling paint — often the first sign of moisture behind the board
- Soft or spongy areas when pressed — a sign of rot in wood fascia
- Visible separation between the fascia and the eavestrough above
- Cracks or splits running along the board
Soffit
Soffit is the material that covers the underside of your roof overhang. It plays a critical role in allowing your attic to breathe. Look for:
- Holes, cracks, or sagging sections
- Signs of pest entry — small gaps, chewed edges, or nesting material visible from below
- Water staining that indicates moisture is getting in from above
- Blocked vents on vented soffit panels — these should be clear to allow proper airflow
Blocked or damaged soffit vents are a commonly overlooked contributor to attic moisture problems and ice dams. If your attic felt unusually warm or showed signs of condensation this past winter, inadequate soffit ventilation may be a factor.
What to do: Cosmetic peeling paint on wood fascia can be scraped and repainted, but soft spots indicate rot that requires board replacement. Many Hamilton homeowners take the opportunity to upgrade from painted wood soffit and fascia to low-maintenance aluminum or vinyl — eliminating the maintenance cycle permanently.
4. Look at Your Window and Door Trim
The trim around your windows and doors is one of the most moisture-exposed areas of your home's exterior. Every gap or crack in this trim is a potential entry point for water — and water that gets behind window or door frames can cause rot that spreads into the surrounding framing before it is ever visible from the outside.
Check each window and door on your home's exterior for:
- Paint that is cracking, peeling, or lifting away from the wood
- Soft or discoloured wood at the corners and base of the frame
- Visible gaps between the trim and the surrounding siding
- Caulking that has cracked, shrunk, or pulled away from the seam
- Drafts noticeable from inside near windows and exterior doors
What to do: Failed caulking can be removed and replaced as a temporary fix. However, if you find yourself repainting or recaulking the same windows every few years, aluminum or vinyl capping is a permanent alternative that covers exposed wood and requires no ongoing maintenance.

5. A Few More Things Worth Checking
While you're walking the exterior, take a few additional minutes to look at:
- Foundation — cracks, horizontal stress fractures, efflorescence
- Grading and drainage — slope direction away from foundation
- Roof (from the ground) — missing shingles, granule loss, flashing separation
Exterior caulking throughout — seals at all material transition points
When to Call a Professional
A spring inspection gives you a clear picture of what your home needs heading into the warmer months. Some items on your list will be simple DIY fixes — a tube of caulk, a can of paint, a clear afternoon. Others will benefit from professional assessment and repair.
Consider calling a professional exterior contractor when you find:
- Multiple siding panels showing damage or moisture infiltration
- Eavestroughs that are sagging, leaking at multiple points, or pulling away from the fascia
- Soft or rotted fascia boards that need replacement
- Soffit with pest damage, blocked vents, or sections that have come loose
- Window or door trim with signs of rot or persistent paint failure
Mario Aluminum provides free on-site quotes for siding, eavestroughs, soffit, fascia, and window capping across Hamilton, Stoney Creek, Burlington, Oakville, Ancaster, and Waterdown. If your spring inspection turns up questions you're not sure how to answer, we're happy to take a look and give you an honest assessment of what your home needs.
Getting a free exterior quote early in spring means you can plan and schedule work before the busy summer season, when installation timelines tend to extend.
Call us at (289) 993-5566 or request a free quote online to schedule your spring exterior assessment.
Contents