Article Summary
Aluminum capping is widely understood as a low-maintenance alternative to painted wood trim. What is less widely understood is that capping's long-term performance depends almost entirely on the sealing details applied during installation. This article explains the specific role that caulking and moisture barriers play in a quality capping installation, why Ontario's climate makes those details especially consequential, what correct sealing looks like at each critical transition point, and how to identify whether a capping installation has been completed to the standard that actually delivers lasting protection.
Aluminum capping earns its reputation as a durable, low-maintenance solution for window and door trim for good reason. Properly installed, it eliminates the recurring cycle of scraping, priming, and repainting that painted wood trim demands, while providing a permanent moisture barrier that protects the underlying wood for decades. That reputation is well-earned. The installation details that make it possible, however, are not as widely understood as the product's benefits.
At Mario Aluminum, we have completed capping installations across Hamilton and the surrounding area for over 20 years. In that experience, one pattern stands out clearly: capping that fails prematurely almost never fails because of the aluminum itself. It fails because the sealing details behind and around the installation were not executed to the standard the product requires. Understanding what those details involve, why they matter in Ontario's climate, and what correct application looks like is valuable knowledge for any homeowner considering a capping project.
This article covers the specific role of caulking and moisture barriers in a quality capping installation, the critical locations where those details are applied, and the questions worth asking a contractor before any work begins.
What Capping Actually Does and What It Cannot Do Alone
Aluminum capping covers exposed wood trim around windows and doors with a pre-formed aluminum or vinyl shell that fits precisely over the existing profile. The cap itself is not porous, does not absorb water, and does not require painting. These properties are real and significant. They represent a meaningful improvement over painted wood in terms of weather resistance and maintenance burden.
What the cap itself cannot do is seal the gaps and transitions around it. The aluminum shell fits over the wood trim, but it terminates at edges, corners, and junctions with other exterior materials. At every one of those termination points, there is a potential pathway for water to enter behind the cap and reach the wood it is protecting.
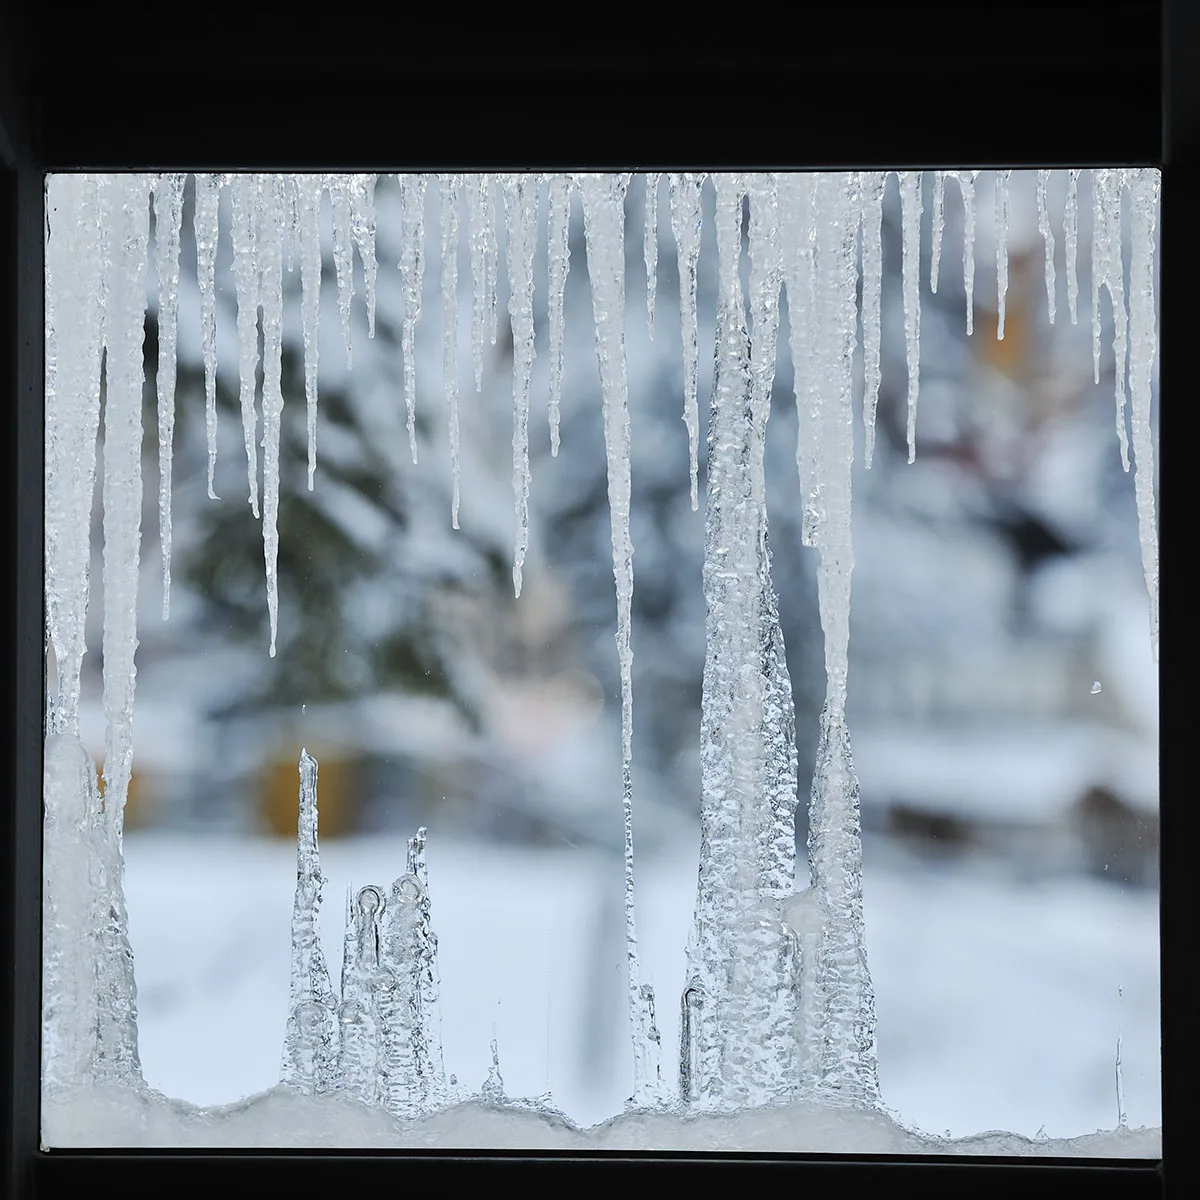
In a warm, dry climate, those small gaps might matter relatively little. Water intrusion would be infrequent, and the wood behind the cap would dry out between events. In Ontario's climate, the situation is materially different. Wind-driven rain hits trim surfaces directly. Freeze-thaw cycles work water into the smallest gaps and expand it as it freezes. Sustained humidity through summer months keeps moisture levels elevated. A capping installation in Hamilton that is not properly sealed will allow water to migrate behind the cap repeatedly through the course of a single year, and the wood it was meant to protect will rot from behind a surface that looks intact from the outside.
The aluminum cap protects what it covers. The caulking and moisture barriers protect the edges and transitions where the cap terminates. Both are necessary. Neither is sufficient on its own.
Why Ontario's Climate Makes Sealing Details Critical
The performance demands that Hamilton's climate places on exterior sealing are specific and worth understanding before evaluating any capping installation.
Freeze-Thaw Cycling and Caulking Fatigue
Southern Ontario experiences dozens of freeze-thaw cycles across a typical winter. Every cycle subjects exterior caulking to thermal stress: the materials it bridges expand and contract at different rates, and the caulking must flex to accommodate that movement without cracking or separating. Caulking products that are not rated for exterior use, that are applied in incompatible combinations with the substrates they bridge, or that are applied over dirty or unprepared surfaces will begin to crack and separate well before their rated service life. In Ontario's climate, the freeze-thaw demand on exterior caulking is relentless, and substandard application fails measurably faster than it would in a more stable climate.
Wind-Driven Precipitation
Hamilton's position at the base of the Niagara Escarpment and along the Lake Ontario shoreline exposes homes to frequent wind events that push rain horizontally against exterior surfaces rather than simply running it downward. Wind-driven rain finds gaps at capping edges, at the junction between capping and siding, and at corners where two runs of capping meet. These are precisely the locations where caulking does its most important work, and where inadequate sealing is first exploited by weather.
Summer Humidity and Vapour Pressure
High ambient humidity through Hamilton's warmer months creates vapour pressure that drives moisture into any available opening in the exterior envelope. Wood trim that is nominally covered by capping but has unsealed gaps at its edges will absorb moisture vapour even in the absence of direct water contact. Over a full summer, this vapour absorption can accumulate enough moisture in the underlying wood to initiate the conditions for rot, particularly at the base of window frames where water also tends to collect.
The Critical Sealing Locations in a Quality Capping Installation
Quality capping installation requires careful attention to sealing at specific transition points. Each location has distinct characteristics that determine the right approach.
1. The Junction Between Capping and Siding
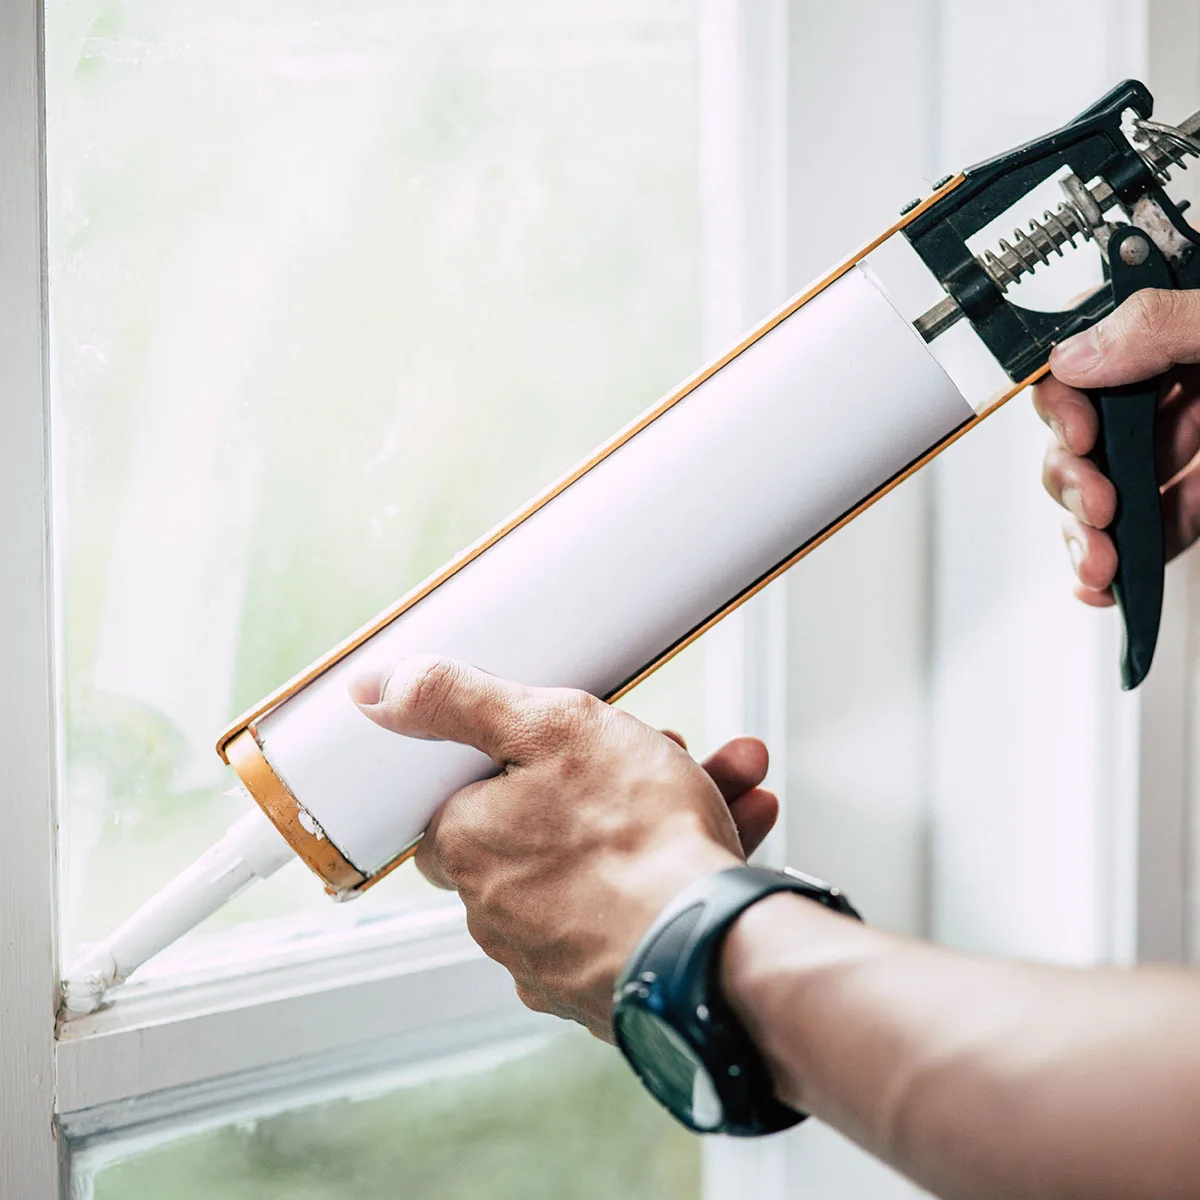
Where aluminum capping meets the surrounding siding is one of the highest-risk locations for water intrusion in any capping installation. The cap terminates at the siding edge, and there is inevitably a small gap at that transition. In a quality installation, this junction receives a continuous bead of compatible exterior-grade caulking that bridges the gap between materials and creates a weather-tight seal.
The compatibility of the caulking product with both the aluminum capping and the siding material is a technical consideration that matters more than it might initially appear. Silicone caulking, for example, does not adhere reliably to all siding materials and can separate at the siding edge even when the aluminum side of the bead remains intact. A quality capper uses a product appropriate to both substrates, typically a paintable polyurethane or advanced polymer caulking rated for exterior use and compatible with both metal and the specific siding material in place.
2. The Base of Window and Door Frames
Water that runs down the exterior wall surface collects at the base of window and door frames before redirecting outward or downward. This collection point makes the bottom of each frame one of the most moisture-intensive locations on the exterior. In a quality capping installation, the cap at the sill is shaped to direct water outward with a positive slope, and the junction between the sill cap and the exterior wall below it is sealed with particular care.
Where a moisture barrier is applied beneath the capping at the sill, it extends outward past the front face of the cap and downward over the adjacent material, ensuring that any water reaching this location is directed away from the wall assembly rather than behind it. Sill capping that terminates flush with the wall without a positive slope or a sealed moisture barrier below it is a common source of window trim rot in Ontario homes, even when the capping above and beside the window appears intact.
3. Corner Joints and Mitered Intersections
Where capping runs meet at corners, the joint between the two pieces is a direct potential pathway for water entry. A quality installation addresses corner joints with two layers of protection: a precise mechanical fit that minimizes the gap between pieces, and a sealed joint that closes any remaining opening with compatible caulking or a purpose-made corner piece that eliminates the exposed joint entirely.
Mitered corners, where the two cap pieces are cut at complementary angles and joined, require particular attention because the cut edges of aluminum capping can capillary water into the joint when the surface tension of wind-driven rain is sufficient. Sealing the back of mitered joints before fitting them, in addition to sealing the visible face of the joint, is a detail that distinguishes careful installation from rushed work.
4. The Top Edge of Capping Around Window Heads
At the head of a window or door, the capping terminates at its top edge against the siding or the soffit above it. This top edge is a location where water running down the wall surface can work behind the cap if the termination is not properly sealed. A quality installation ensures that the top edge of head capping is sealed against the material above it and, where appropriate, that a strip of self-adhering flashing tape is applied at the back of the cap before installation to create a secondary barrier behind the primary caulking seal.
5. Penetrations and Utility Connections Near Capping
Where utility penetrations, light fixtures, or other hardware pass through the exterior wall in close proximity to capped trim, the seal between the penetration and the surrounding capping or siding requires careful attention. Water that travels along the surface of a utility conduit or light fixture back plate can enter behind adjacent capping through gaps that are not related to the capping installation itself. A thorough installation assesses and addresses these adjacent penetrations as part of the capping work, ensuring the full perimeter of each capped opening is water-tight.
Every unsealed gap in a capping installation is a future water entry point. Ontario's climate will find each one, and it will find them with wind, freezing temperatures, and sustained humidity across multiple seasons.
The Role of Self-Adhering Moisture Barriers in Capping
Beyond the caulking applied at visible transition points, quality capping installations in Ontario frequently incorporate self-adhering flashing or moisture barrier tape at specific high-risk locations behind the capping before the aluminum is fitted. This secondary layer of protection addresses a specific vulnerability: the possibility that primary caulking will fail before the next maintenance cycle, or that water will find a path behind the caulking through a gap or imperfection that was not visible at installation.
Where Moisture Barriers Are Applied
Self-adhering flashing tape is most valuable at the locations where water is most likely to collect and where failure consequences are most significant. These typically include the sill of each window and door, the top edge of head capping where the cap terminates against the siding, and any corner joint where the mechanical fit alone does not create a reliably tight closure. At these locations, the flashing tape is applied over the underlying wood trim before the aluminum cap is fitted, extending past the edge of the cap in the direction water would travel if the outer seal failed.
The result is a two-layer protection system: the primary seal provided by caulking at the cap edges, and the secondary barrier provided by the flashing tape behind it. If the primary caulking eventually cracks or separates, water that enters through the gap encounters the flashing barrier before it can reach the wood. This redundancy is what gives a quality capping installation its durability across multiple years and weather cycles without requiring frequent maintenance intervention.
Product Selection Matters
Not all self-adhering flashing products are created equal, and product selection has measurable consequences in Ontario's climate. A flashing tape that loses adhesion at low temperatures will separate from the substrate during the first freeze-thaw cycle it encounters, negating its protective value entirely. Products should be rated for the temperature range that Ontario construction experiences, compatible with both the wood substrate and the aluminum cap above them, and applied to clean, dry surfaces for reliable long-term adhesion.
What to Look For in a Quality Capping Installation
For homeowners evaluating a capping contractor or assessing the quality of an existing installation, there are specific indicators that distinguish thorough sealing practice from work that will require early attention.
During the Installation
- The contractor assesses the condition of the underlying wood trim before capping. Rot or moisture damage that is capped over without remediation will continue progressing behind the new installation.
- Caulking is applied at every visible transition point between the cap and adjacent materials before the installation is considered complete.
- The caulking product used is rated for exterior use and confirmed as compatible with both the aluminum capping and the substrate it meets on the other side.
- Self-adhering flashing is applied at the sill and other high-risk locations before the cap is fitted.
- Corner joints are sealed on both the back and face before fitting.
- The contractor can articulate their sealing approach when asked, rather than treating caulking as an afterthought applied at the end of the job.
After Installation is Complete
- Every visible edge of the capping terminates cleanly against adjacent materials with no visible gaps.
- Caulking beads are continuous with no skips or gaps, and tooled smooth to ensure good adhesion and a professional finish.
- Sill caps have a positive outward slope that directs water away from the wall rather than allowing it to pool.
- There are no lifted or bubbled sections of capping that suggest moisture has already entered behind the installation.
A capping installation that is completed to the highest standard is invisible in the best possible sense. The sealing details are covered, the surfaces are clean, and the protection delivered works quietly for decades without requiring your attention.
Frequently Asked Questions
Capping Done Right Protects Your Home for Decades
Aluminum capping is a proven, durable solution for protecting window and door trim against Ontario's demanding climate. The homeowners who get the most from their capping investment are those whose installations were completed with the sealing details that the product requires, not just the aluminum that is visible from the street.
At Mario Aluminum, we approach every capping project as a weatherproofing commitment, not a cosmetic one. That means assessing the condition of the underlying wood before we begin, applying moisture barriers and compatible caulking at every critical transition point, and completing each installation to a standard that will perform reliably through Ontario winters for years to come. Our 20-plus years serving Hamilton, Stoney Creek, Burlington, Oakville, Ancaster, and Waterdown have been built on exactly that standard, and we stand behind every installation we complete.
If you are considering capping for your home's windows and doors, or if you have an existing capping installation you want assessed, we would welcome the opportunity to take a look and provide a straightforward, no-pressure recommendation. Free on-site quotes are available across our full service area.
Protecting your home is not just what we do. It is what we believe every homeowner in our community deserves. Call Mario Aluminum to experience the standard that comes with two decades of local expertise.
Call us at (289) 993-5566 or request a free quote online to schedule your capping assessment.
Contents